Guided Research Project – Muons
What is a Muon?
A muon is a charged subatomic particle similar to an electron. It shares the same properties of an electron except that it weight considerably more than an electron. According to the Encyclopaedia Britannica, a muon weight 207 times more than an electron. Muons originate in the upper reaches of the atmosphere when cosmic rays interact with atoms. They are part of a group of subatomic particles called leptons. This group of particle is unique in that it does not directly react with other particles or nuclei. Thanks to this property, muons are able to pass through solid objects. Instead, muons decay through the “weak force”, a fundamental force in particle physics. The half-life of a muon is 2.2µs according to UC Berkeley. This is shorter than the time that it takes for a muon traveling at near light speed to reach the surface of the earth. The reason we are able to detect them, however, is because of relativity. The muon’s half-life is measured in its own reference frame. This means that the closer the muon travels to the speed of light, the longer its lifespan and the more likely it is to reach earth’s surface. Muon detectors have been used recently to detect cavities in the Great Pyramids. Underneath these cavities, the rate of muon detection is greater than areas of solid brick. Muons are also being used to detect nuclear devices from great distances. The radioactive materials used in nuclear weapons production are very good at scattering muons in a detectable pattern.
How does the circuit work?
Unfortunately, the circuit does not currently function. I believe this to be caused by the scintillator glass being less than optically perfect. The solution to this problem would be to heat up the glass with a hot-air device, melting the surface layer of the plastic and letting it reset. This would produce a perfectly flat, optically perfect layer. According to the user guide, this could possibly solve the problem of low detection rates. I have been able to detect muons beyond the first iteration of the program, however they have not appeared at the 0.5 Hz frequency that the CosmicWatch guide says that I should expect. Worst case scenario the SiMP (silicon photomultiplier) is on the wrong way around, in which I would simply have to desolder, turn it around and then re-solder it in place.
The other issue is the display. For some strange reason the code contains a setting for the reset line of the display as if the creators knew it would require one, and yet there is no appropriate header for this line. This may be the problem that is preventing the display from showing information. Nonetheless, the program will still work when connected to a computer. Thanks to the serial output of the Arduino Nano, I am able to see when the program detects a muon and all the associated information with it.
Despite the non-functional circuit, the circuit is still simple to explain. There are four important parts: the detector (SiMP PCB), the DC-DC booster, the amplifier, the peak-detector and the Arduino nano.
The SiMP PCB is very straightforward and consists solely of passive components. A series of resistors and capacitors interface with the two contacts of the SiMP. These resistors and capacitors work together to form high and low-pass filters (as to prevent external noise from interfering with the circuit). The sensor requires 29.5V to function properly. While there are six pins connected to the main board, only three serve a purpose. These three pins are: VCC(29.5V DC), ground and signal. VCC connects to the voltage booster and signal connects to the amplifying circuit.
The DC-DC booster converts the input +5V from the Arduino or barrel jack to the +29.5V required by the sensL SiMP. These circuits, also called boost converters, work using the relationship between electrical current and magnetic fields. The booster IC regulates a short-current across a coil. This creates a current spike through the coil and generates an electromagnetic field. When the IC turns off this “short-current”, this field collapses, creating a voltage spike, and is dumped into accompanying capacitors. Here this capacitor is 0.47µF. This switching occurs so quickly that the capacitor never drops below 29.5V. It is important that this circuit have a feedback loop that informs the IC when the circuit is bearing load. If there is no feedback, the voltage will drop as soon as load is applied. This is because the IC is not increasing the duration of the short-current and thus the cap is draining too quickly for the voltage to be sustained.
The amplifier is based off of a simple operational-amplifier (OP-Amp) IC. This IC compares the signal voltage coming from the SiMP to 5V and adjusts the output accordingly. Essentially, this circuit is taking the small voltage variations coming from the SiMP and boosting them. This is different from the DC-DC boost converter as it requires a high-voltage supply (in this case 5V) and the output does not bear load. The amplification factor of this circuit is 10x.
The peak detector is also based off of an OP-Amp. In fact, they both use the same IC that contains two separate OP-Amps. This saves space and reduces cost. The peak detector compares the input signal to the “previous” input signal through the use of two diodes, two resistors and a capacitor. The amplified signal travels through the second op-amp through a diode and into a capacitor. The voltage level of this capacitor is always close to the highest amplified signal of the SiMP. This is because the resistors connected to the capacitor which drain it are of a very high resistance. This means that it takes a large period of time to discharge the capacitor, while it does not take a long time to charge it. This circuit is required for the Arduino to register the amplified signal value and give a readout of the new voltage. The Arduino cannot sample the amplified signal fast enough to detect every muon passing through it without this additional circuit.
The Arduino nano detects the voltage spikes on the peak detector circuit and compares them to previous values in a certain time period. If the voltage peak is high enough (that is to say it is not a small peak caused by external noise), the code registers that a muon has crossed paths with the SiMP. The Arduino then prints the requested info to the serial monitor (# of muons since program start, time, ADC reading, time between muons, etc).
The SiMP device is wrapped in tin-foil and electrical tape to reduce electrical noise and eliminate sources of light which can also trigger the SiMP.
How does this relate to our course?
In our course we cover much of the topics described in the operation of the device. We cover what muons are in relativity, and how their half-life is different from our point of view compared to theirs due to the effects of relativity. We also cover fields, which are used by the DC-DC converter. Furthermore, I recall a class where we wrapped a cell phone in tin-foil to kill the signal. This is the same concept as wrapping the SiMP circuit in foil to eliminate interference.
This project also builds upon the fundamentals of the physics curriculum. It helps students learn by experiencing instead of listening to concepts and memorizing equations.
Experiment
- Connect muon detector to the computer.
- Place muon in desired location.
- Leave detector running for 10 minutes (600 seconds)
- Stop detection and mark down the number of muons detected
- Divide this number by 600 to determine the frequency at which muons collide with the sensor. Record this value in the table below
| Location/Event | Muon detection rate |
|---|---|
| Valley | |
| Top of building | |
| Inside a fridge | |
| Basement | |
| On the subway | |
| Outside in a thunderstorm | |
| Outside on a clear day |
Media
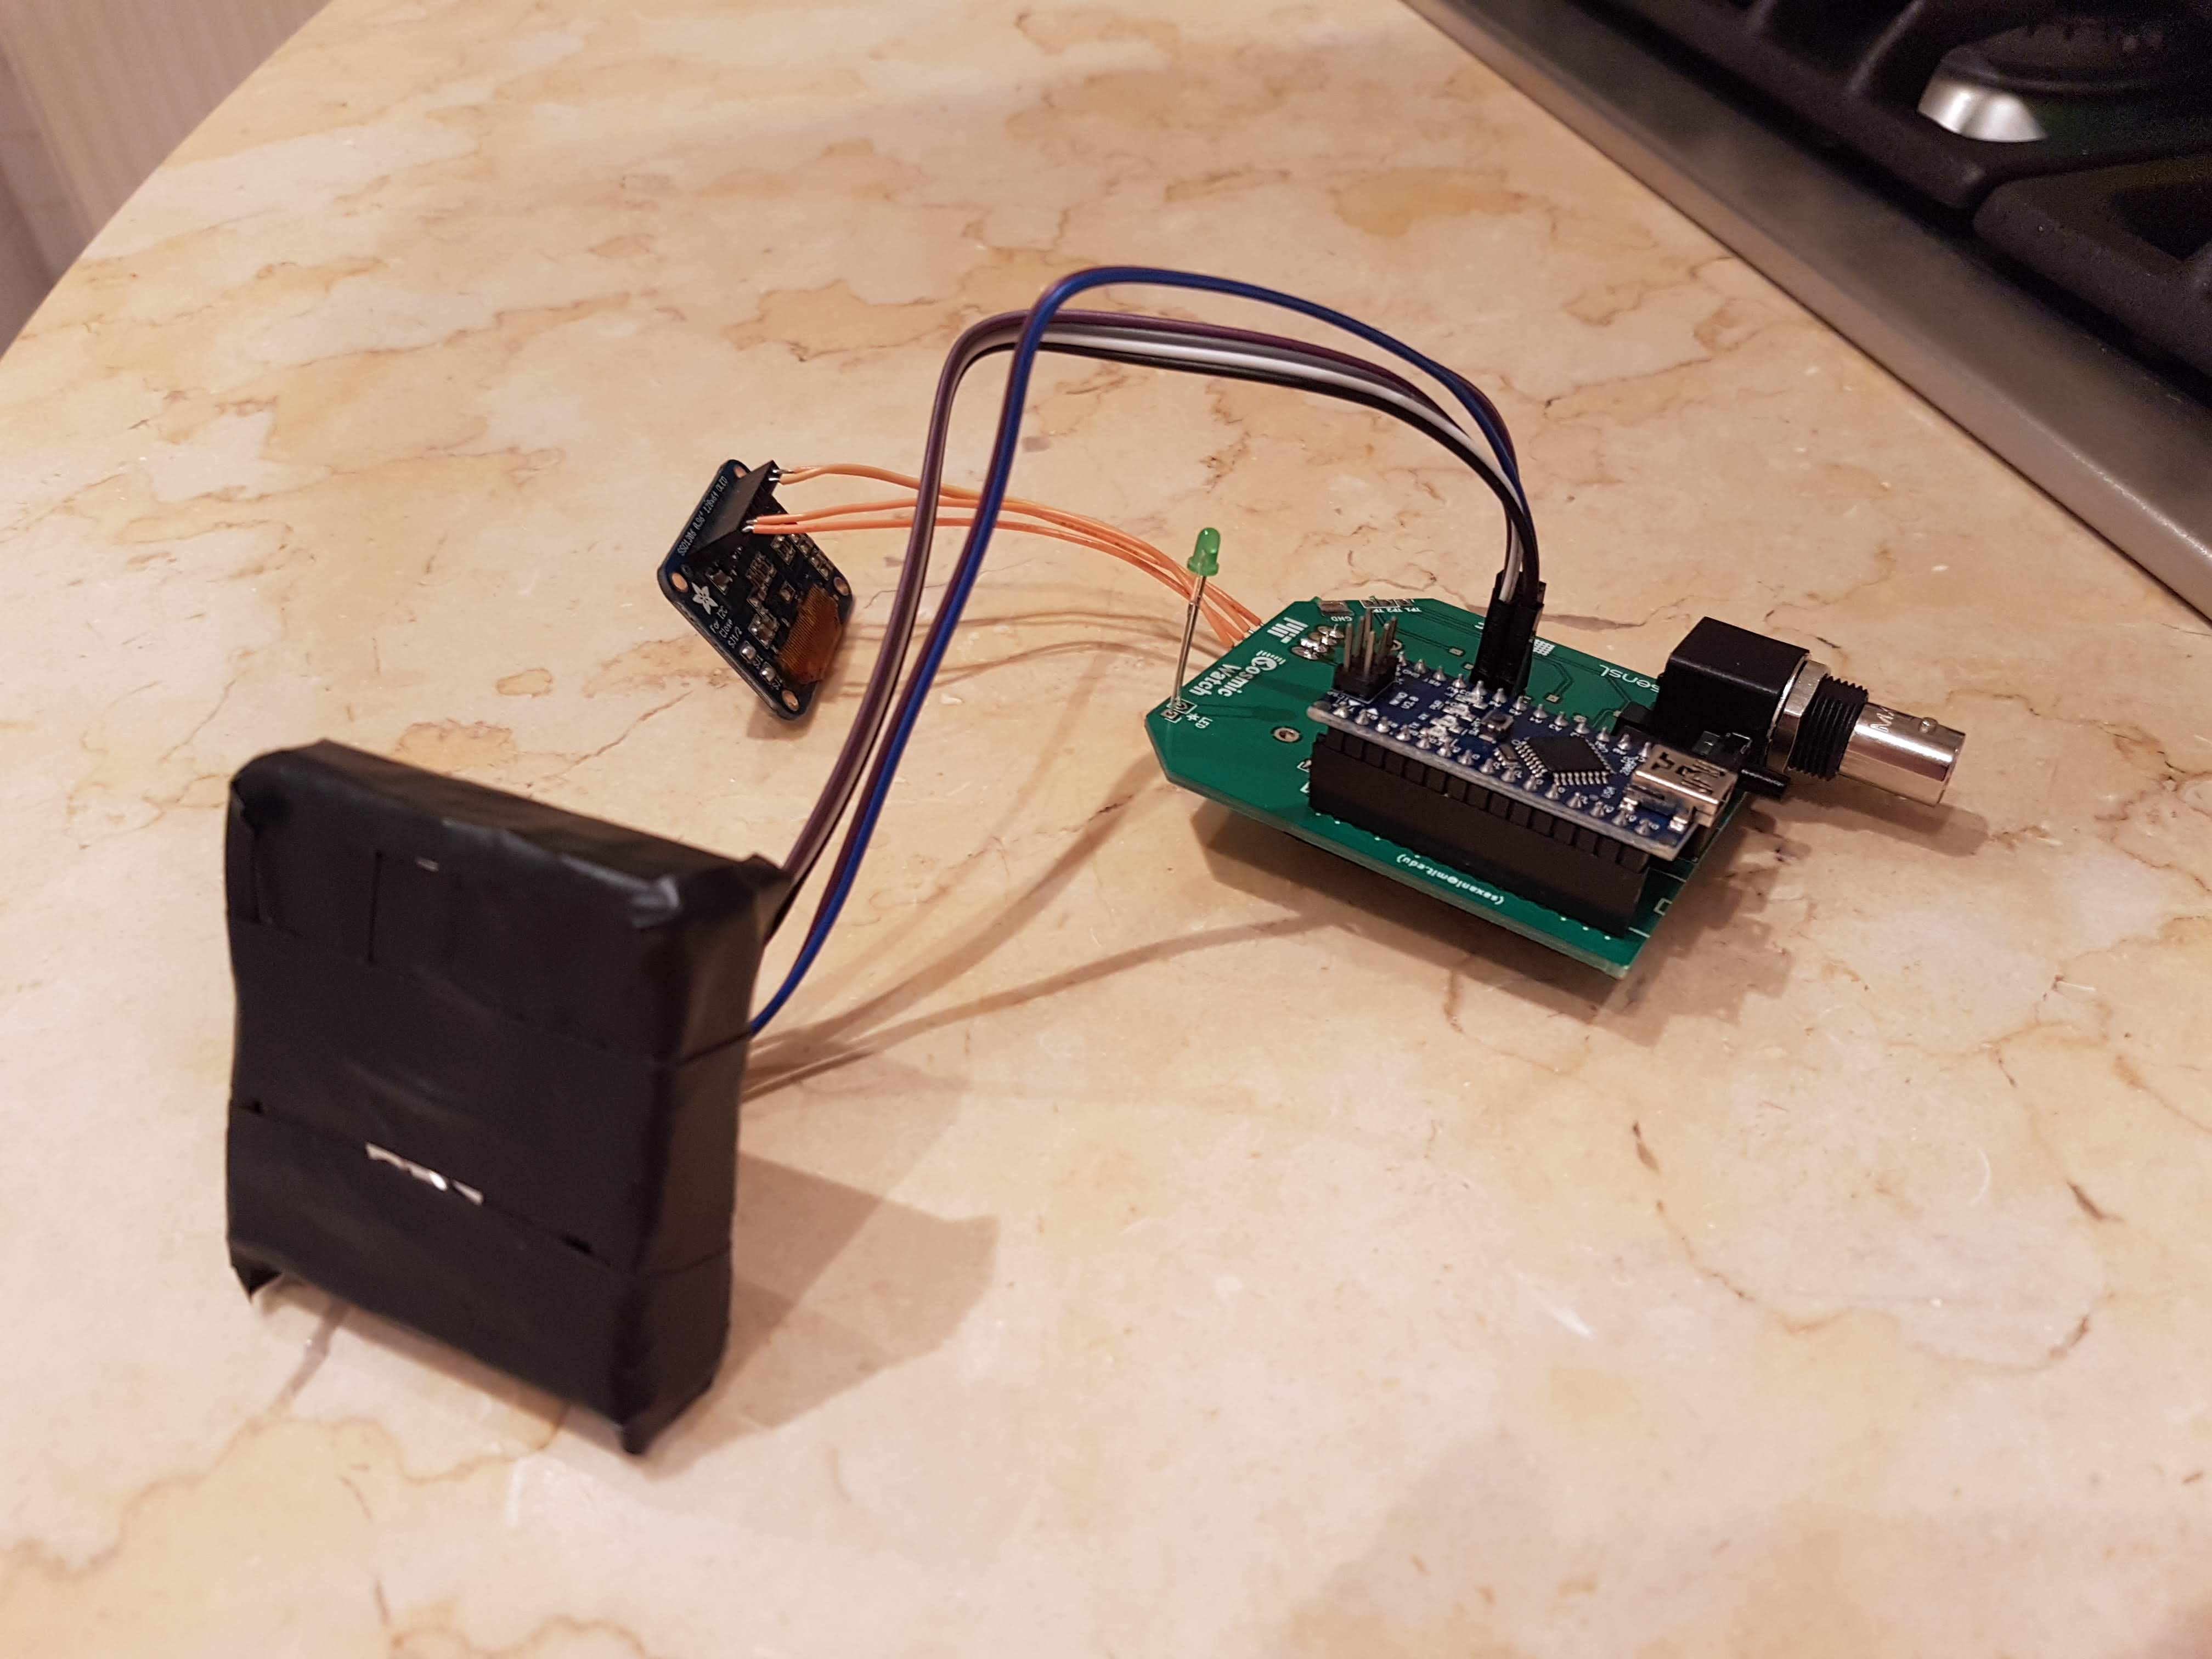 |  |
| Completed Circuit | Bottom of main circuit with SMD soldered parts |
|---|---|
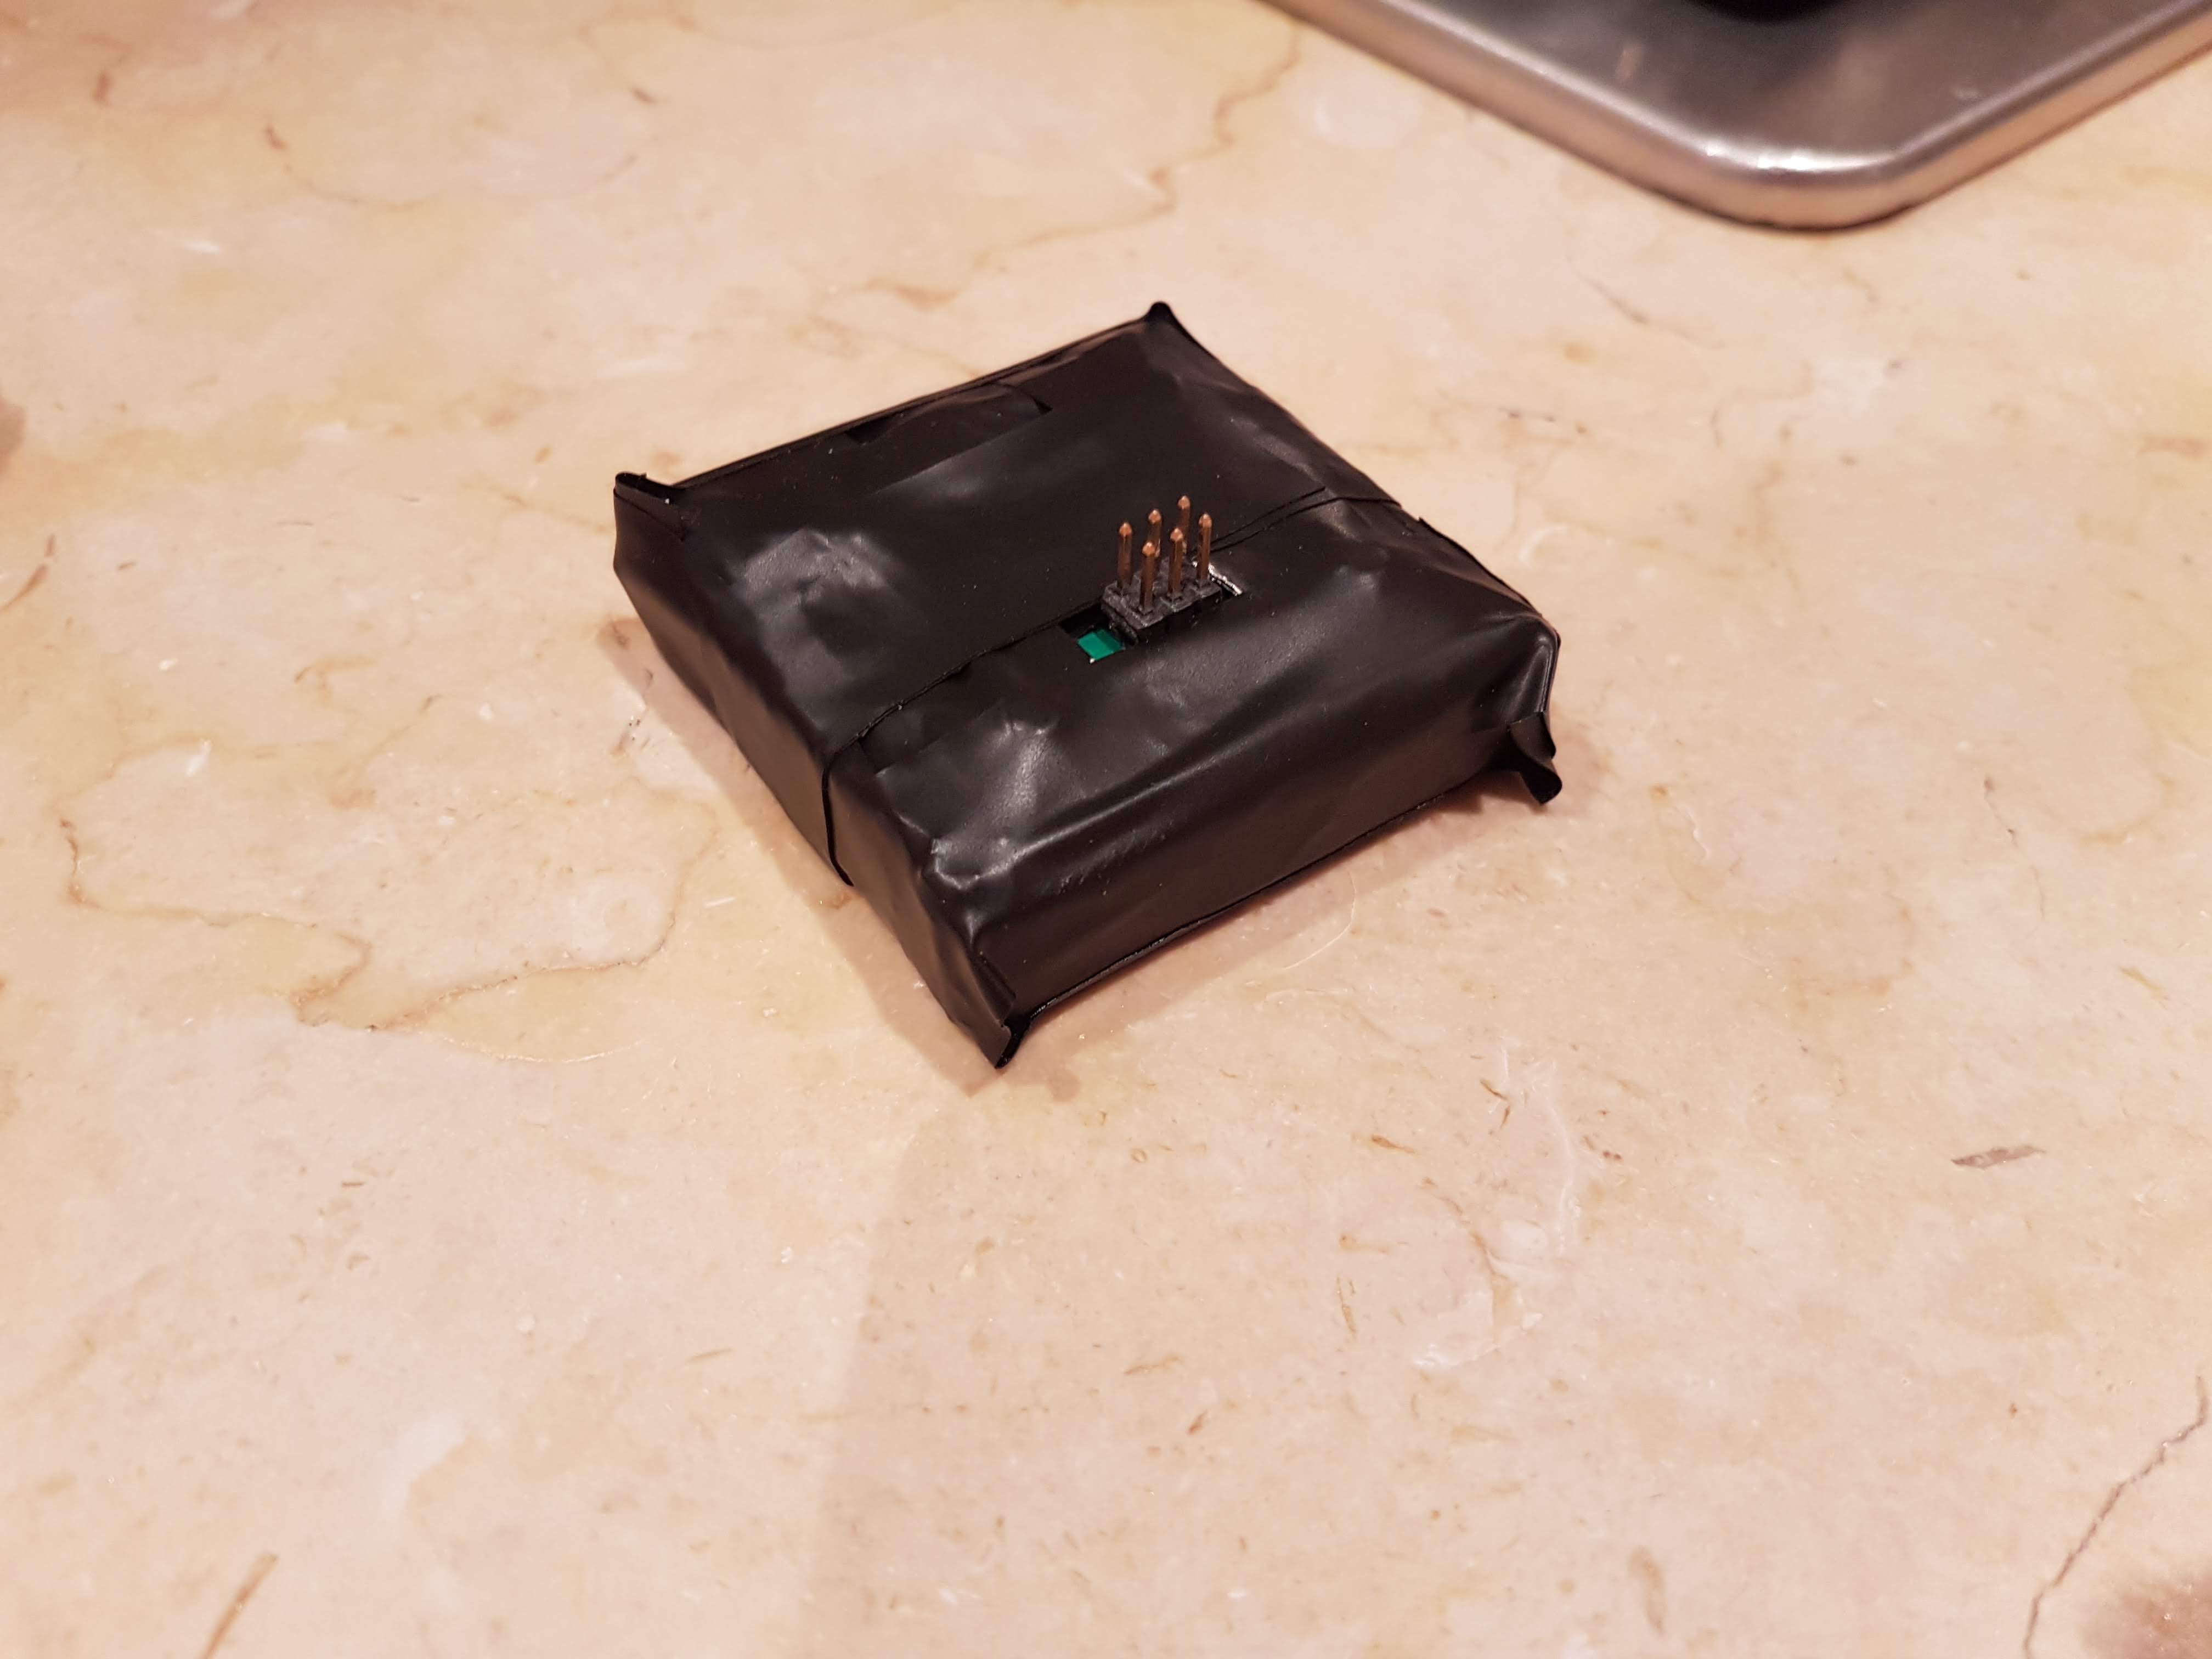 | 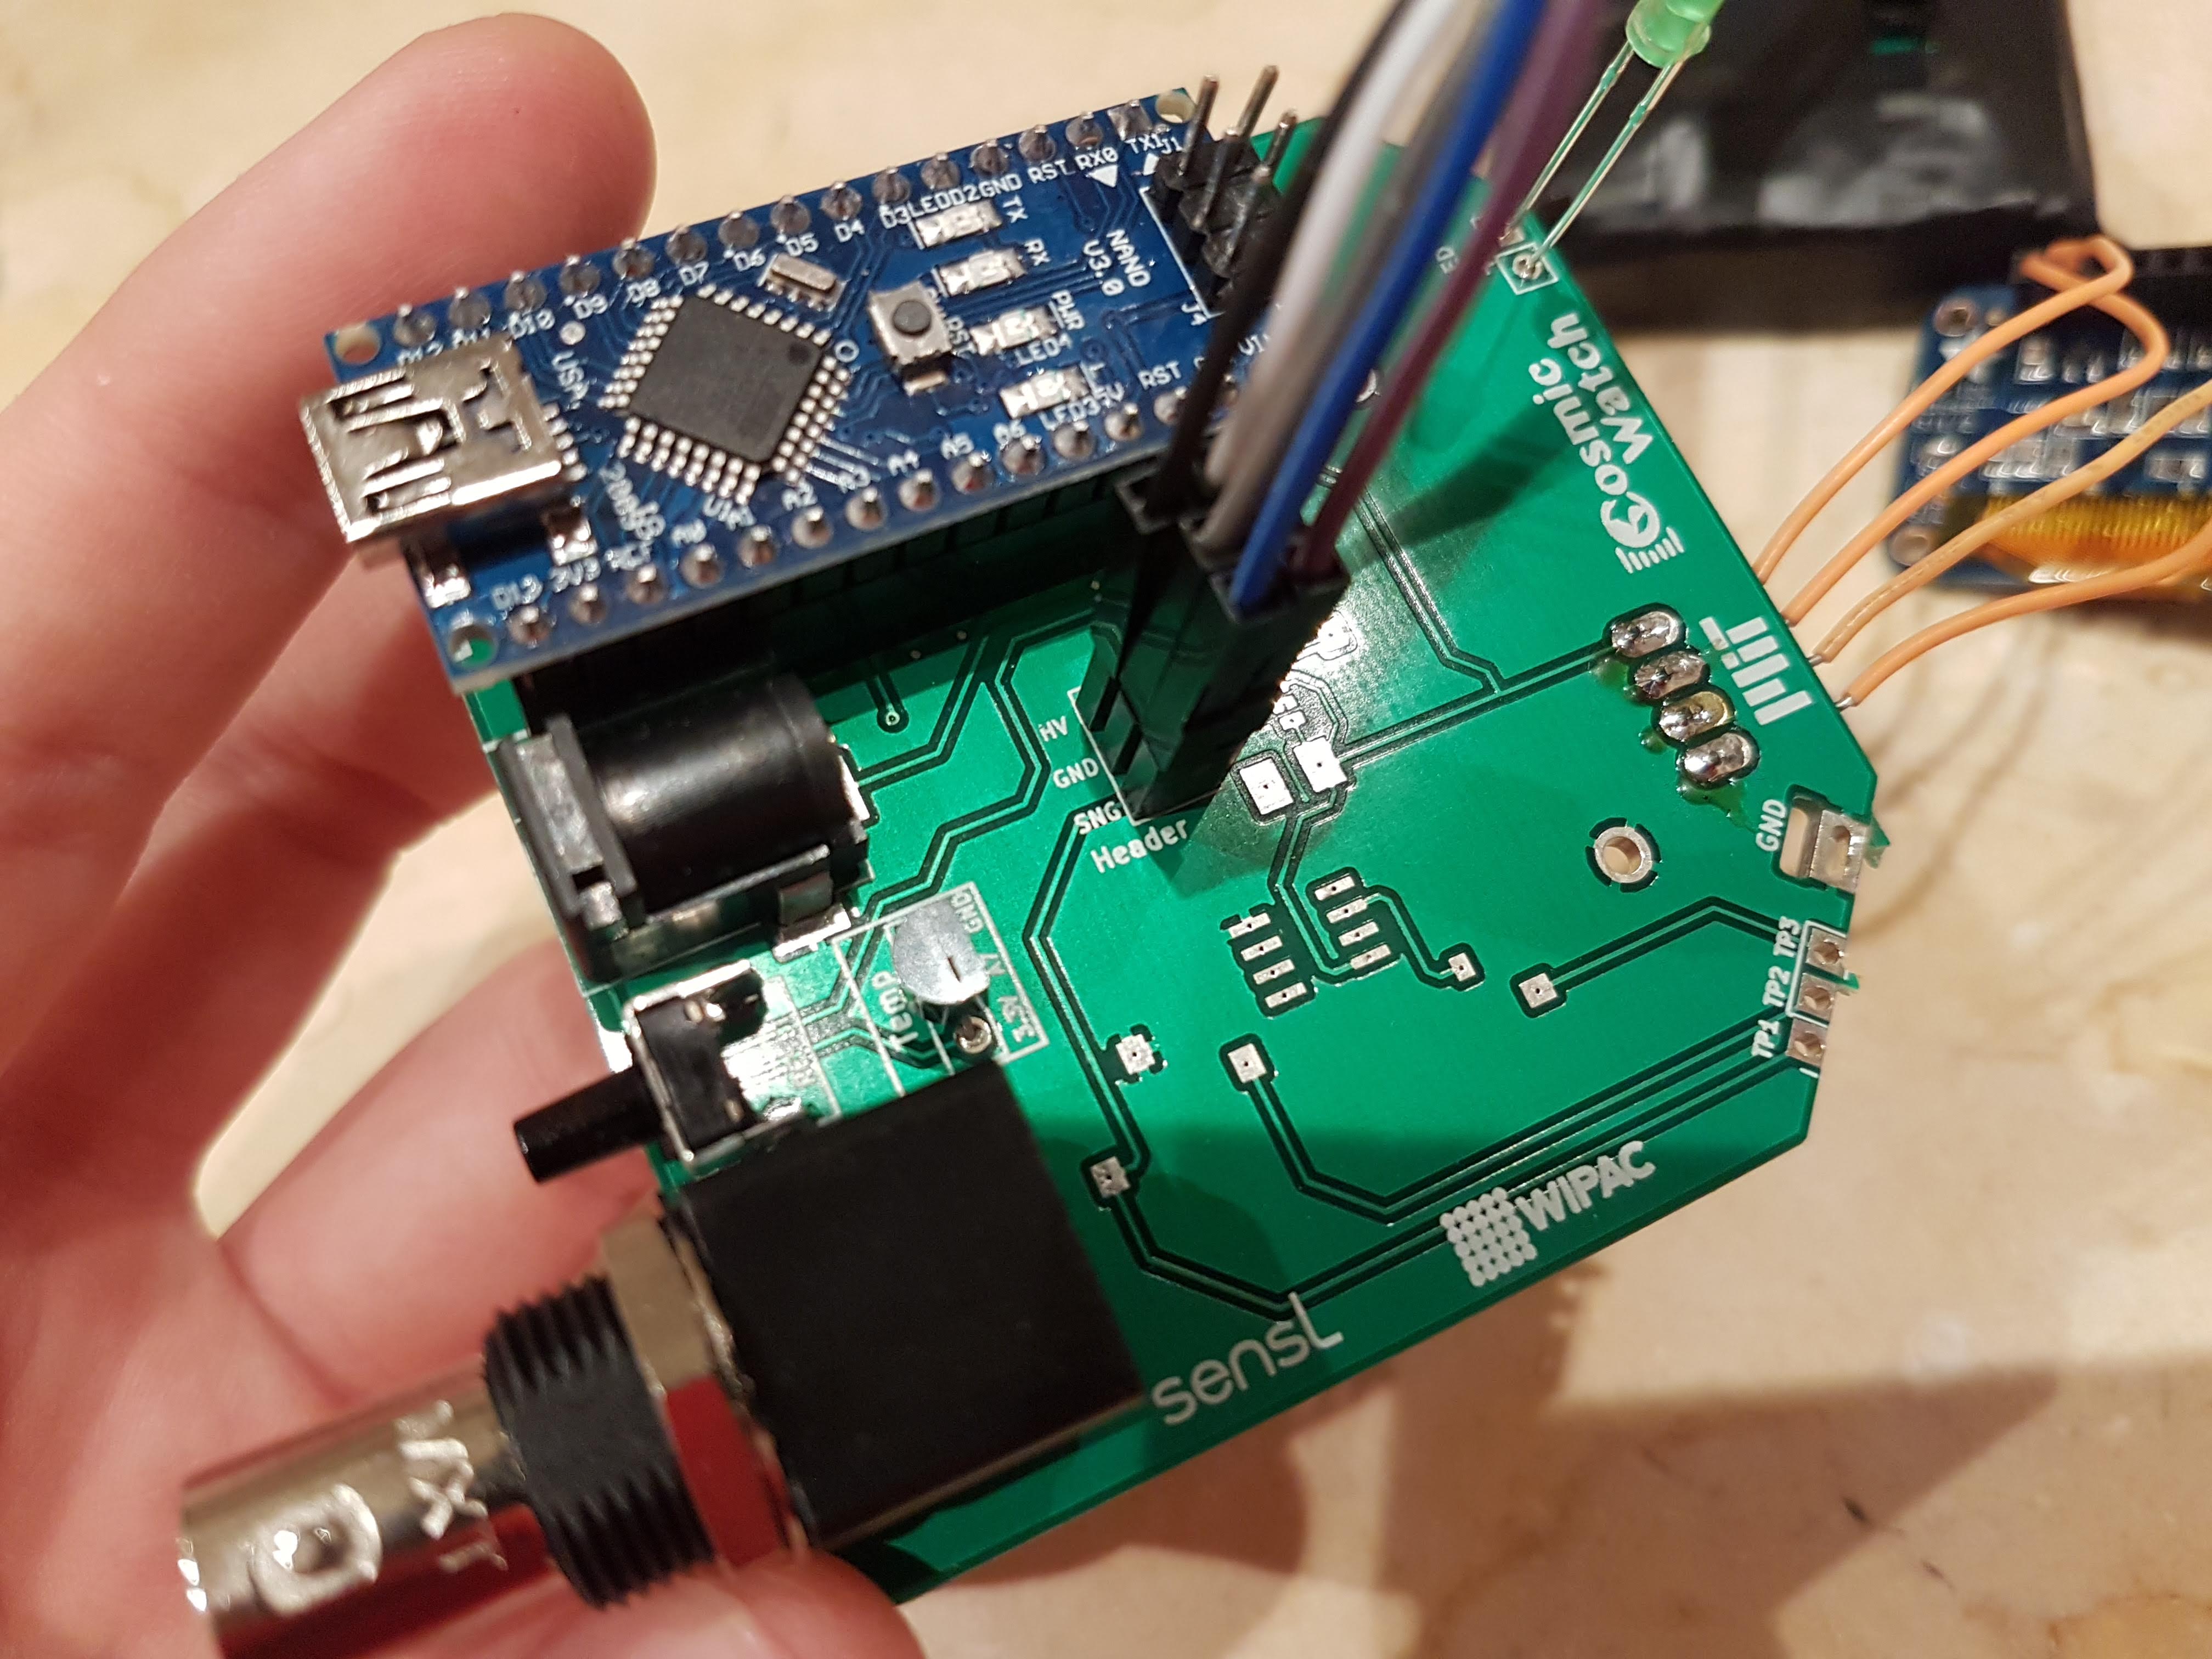 |
| SiPM completed | Top side of board showing Arduino |
| Link to GitHub: https://github.com/emcauliffe/Desktop-Muon-Detector | |
Works Cited
Britannica, The Editors of Encyclopaedia. “Muon.” Encyclopædia Britannica, Encyclopædia Britannica, Inc., 25 Oct. 2013, http://www.britannica.com/science/muon.
Lancaster, Mark. “My Favourite Particle: the Muon.” The Guardian, Guardian News and Media, 14 May 2011, http://www.theguardian.com/science/life-and-physics/2011/may/14/1.
“Muons.” Muons, Berkely Lab, http://cosmic.lbl.gov/SKliewer/Cosmic_Rays/Muons.htm.
Przewłocki, P, and K Frankiewicz. “CosmicWatch Muon Detector.” CosmicWatch, MIT, 2017, http://cosmicwatch.lns.mit.edu/.
What Is a Muon. Vanderbilt University, http://www.hep.vanderbilt.edu/~gabellwe/qnweb/qnpptr/What_is_a_Muon.pdf.